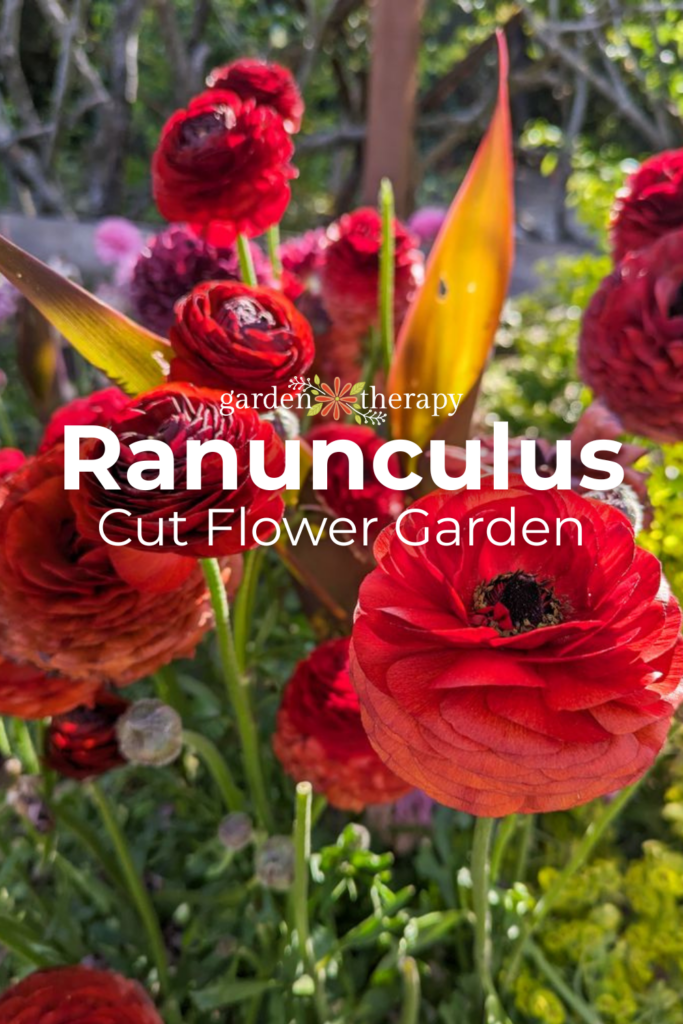
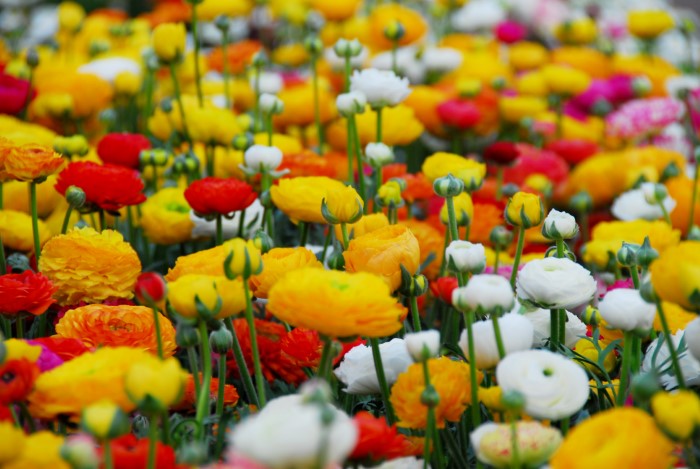
After the spring bulbs have finished their splendour, ranunculus flowers are ready to step in! This spring beauty is one of the most popular cut flowers for this time of year; brides, florists, and home gardeners can’t get enough of them. Here’s everything you need to know to grow ranunculus as cut flowers.
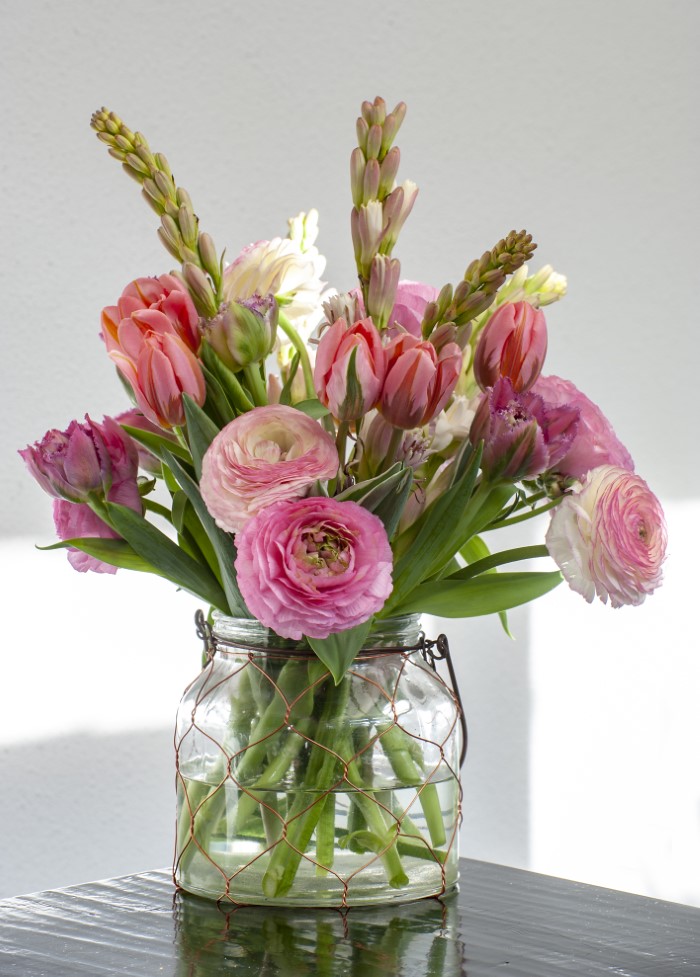
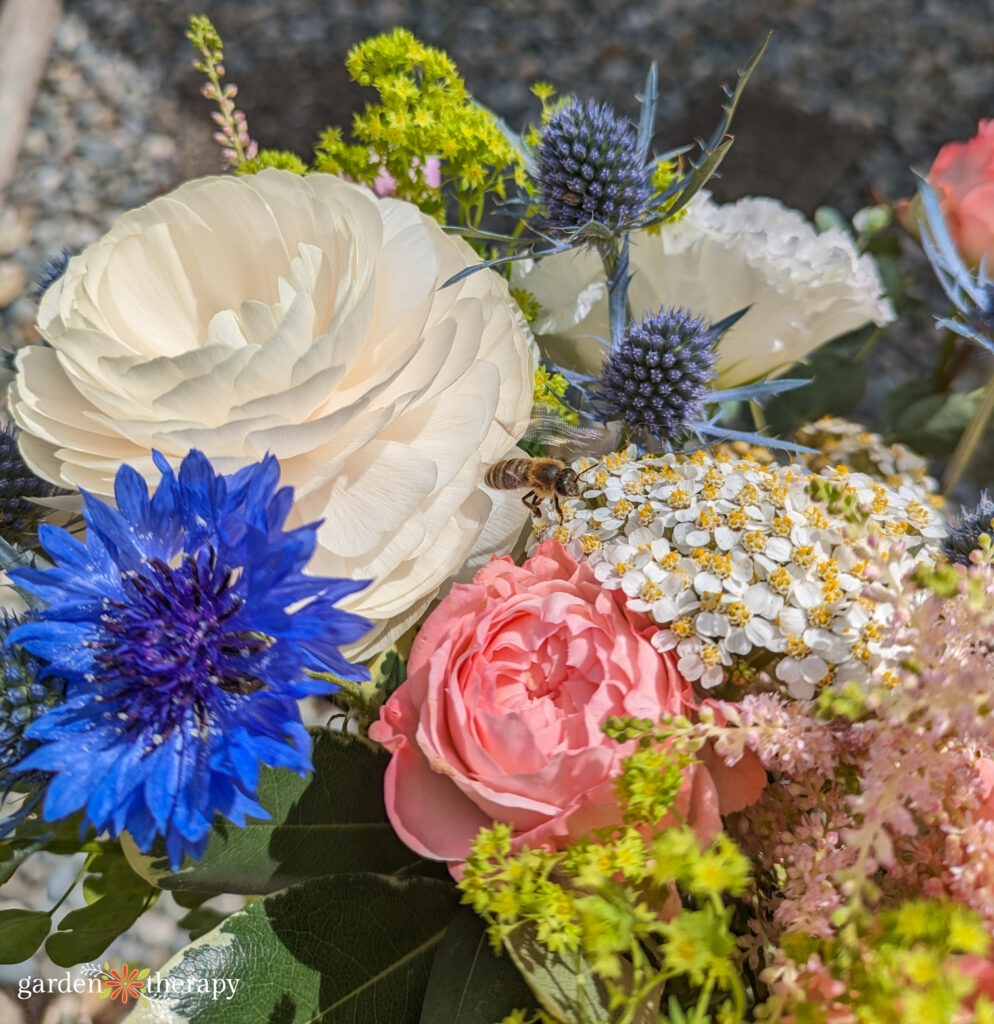
Ranunculus flowers have quickly become one of the most popular cut flowers for growing and using. There seems to be no bouquet this time of year that doesn’t feature a ranunculus flower or two (or five or ten).
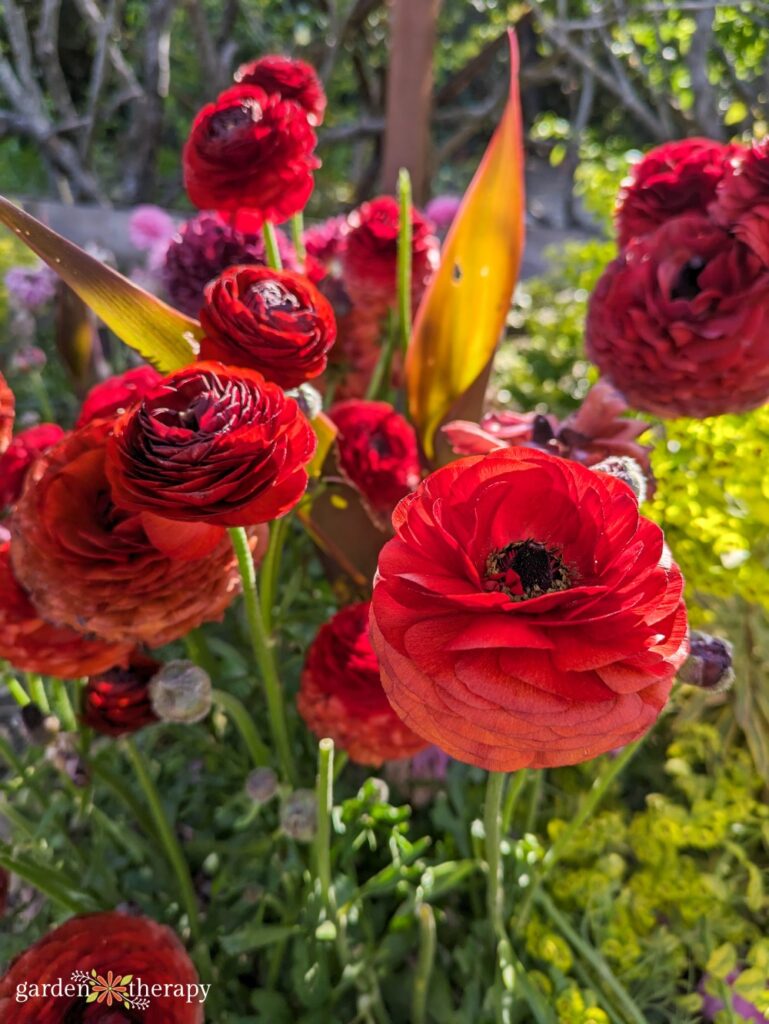
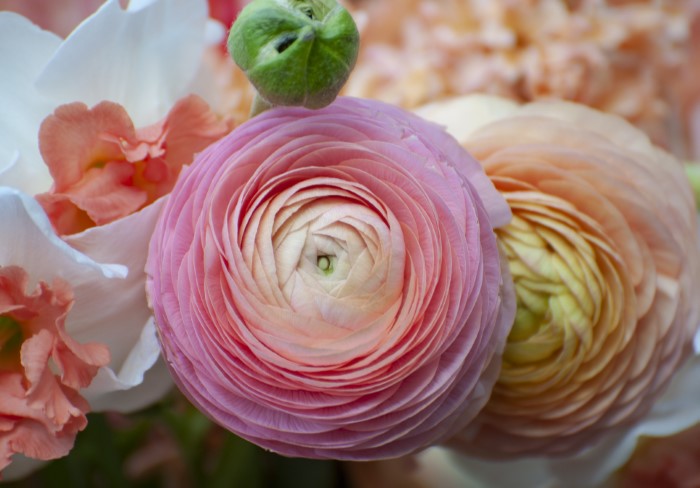
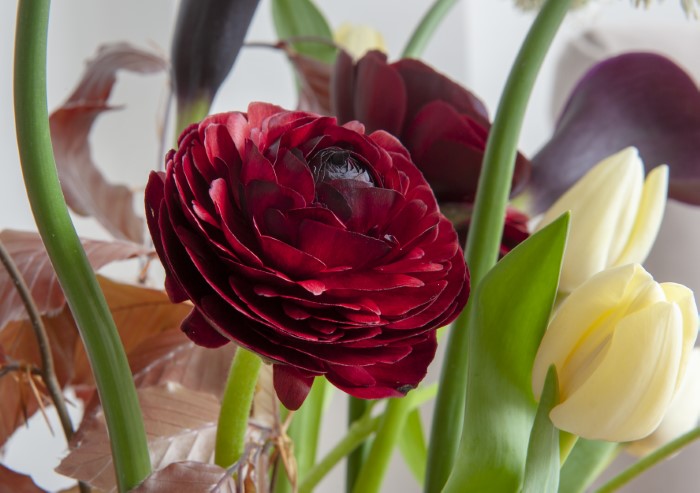
Often referred to as the rose of spring, ranunculus look like a mix between a small peony and a rose. They work wonderfully as focal flowers in bouquets, sometimes requiring wiring to stay in place.
Ranunculus can be tricky for new gardeners to grow. They’re known to be finicky, so temperature and timing are crucial for growing ranunculus as cut flowers.
There is already a general guide on growing ranunculus that you can check out here. This guide is intended for those who wish to grow lots of ranunculus specifically for cut flower purposes.
Let’s dive in!
Timing for Ranunculus
Depending on how cold it gets in your area, you can plant your ranunculus in the fall or in late winter/early spring. For mild winters, typically zone 7 and above, you can plant your ranunculus corms in the fall, but they will still require protection from cold.
Those with cold winters should wait until late winter or early spring to plant their corms.
As a general rule, corms take 90 days from soaking until they bloom. Visit this post for details on timing, including finding the right temperature and working backwards to pick the perfect date for planting your ranunculus.
Soaking Corms and Pre-Sprouting
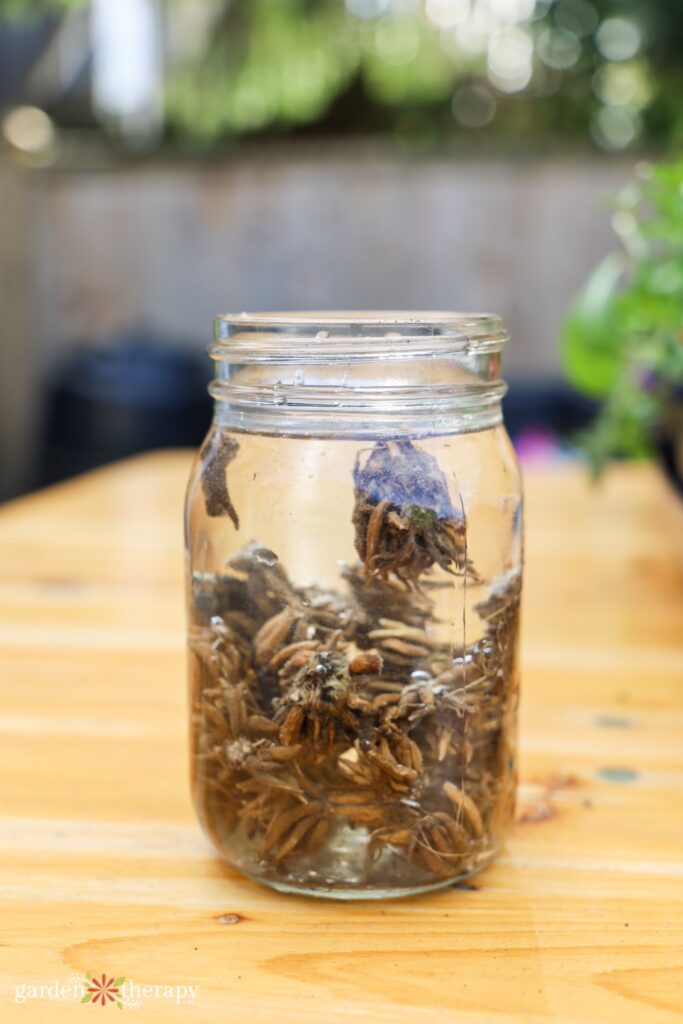
When you first get ranunculus corms, they look like shrivelled pieces of calamari. It’s hard to believe that they will turn into beautiful flowers in just a couple of months!
To bring life back to your corms, you’ll want to soak them first. Place them in some water for 3-4 hours, checking on them regularly to ensure the water isn’t murky. Don’t soak them for longer than four hours, as this can cause them to rot.
Once you remove the corms from the water, you’ll see how much they have plumped up. Now they’re ready to be pre-sprouted.
Pre-sprouting is optional, but I recommend it. Pre-sprouting allows you to better control the conditions, reduce transplant shock, and the plant will bloom a few weeks earlier.
To pre-sprout your ranunculus corms, add a one-inch layer of soil to a seed tray. You want a really light soil mix, such as one with lots of perlite. The soil should be damp but not super sticky.
Spread out your corms and cover them lightly with more soil. Don’t worry too much about the corm orientation, as it doesn’t matter at this time.
Be careful when laying out your corms and removing them from the packaging, as the legs can easily snap off.
Once the corms are covered, tuck the seed tray somewhere dark and not too warm. Somewhere between 10°-16°C (50°-60°F) is ideal. Check on the corms every few days. The soil should be damp, but not soggy. Let them rest in the tray for ten days.
After the ten days, the corms should have lots of roots and maybe even some sprouts. Now they’re ready to be planted!
Planting Ranunculus Corms
Planting ranunculus corms is the easiest part of the process. If you have beds prepared and the temperatures allow it, you can plant them directly after soaking and skip pre-sprouting (though I recommend beginners try pre-sprouting).
To prepare your garden bed, mix in compost. If your soil is poorer or you want to promote lots of blooms, you can also mix in organic fertilizer.
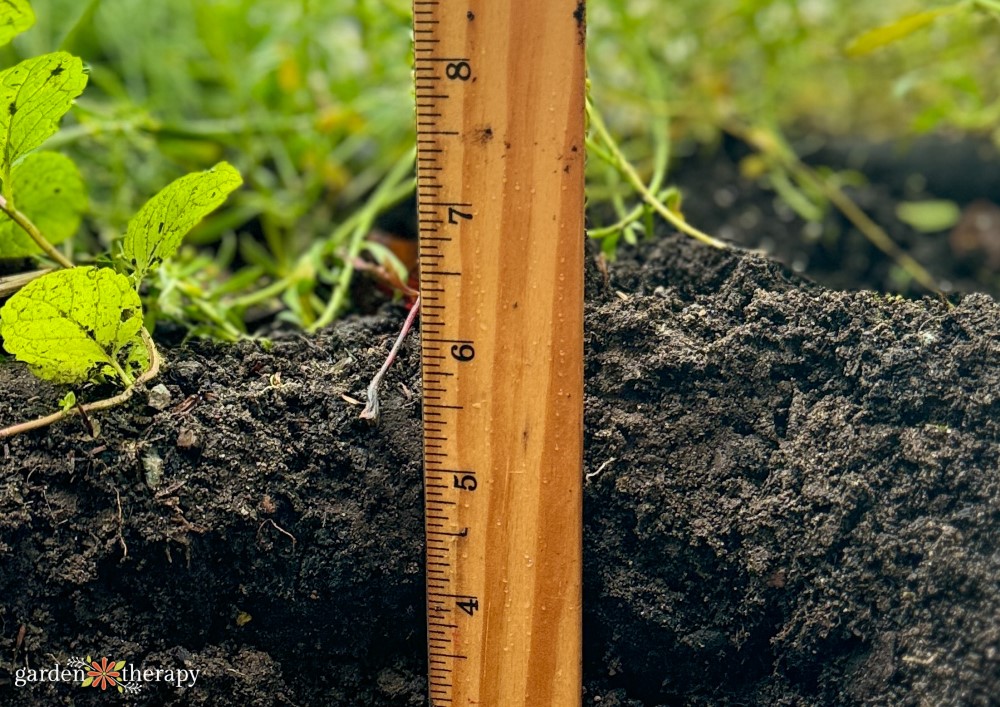
Dig small trenches about 2-3 inches deep and then plant your corms with the tentacles (point end) facing down. Space them about 8-9 inches apart. A spacing tool is handy to have while planting all your plants.
Cover them with dirt and give them a good watering. If you’re growing multiple varieties, label each row before you plant your corms so you don’t forget what you’re growing.
Caring for Ranunculus
Ranunculus are very temperamental about temperature. While they like cold conditions, they should be protected if the temperature drops below freezing. If they experience temperatures below -4°C (25-°F), they will freeze and turn to mush.
For cut flower gardeners, growing ranunculus in low tunnels during the winter is great protection for them. Frost cloth is also very helpful.
On the other end, you’ll want to protect ranunculus when temperatures get too high. When temperatures exceed 21°C (70°F), cover your ranunculus with shade cloth. Once they experience temperatures of 25°C (77°F), they will begin to go into dormancy and die back.
Harvesting Ranunculus as Cut Flowers
Depending on how you intend to use your ranunculus cut flowers will determine when you harvest them.
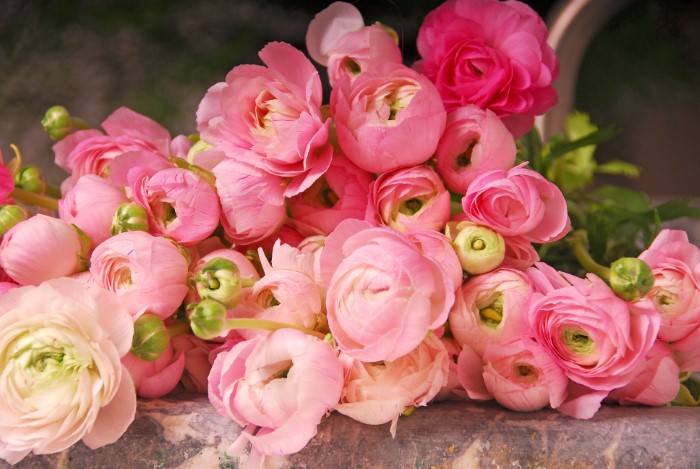
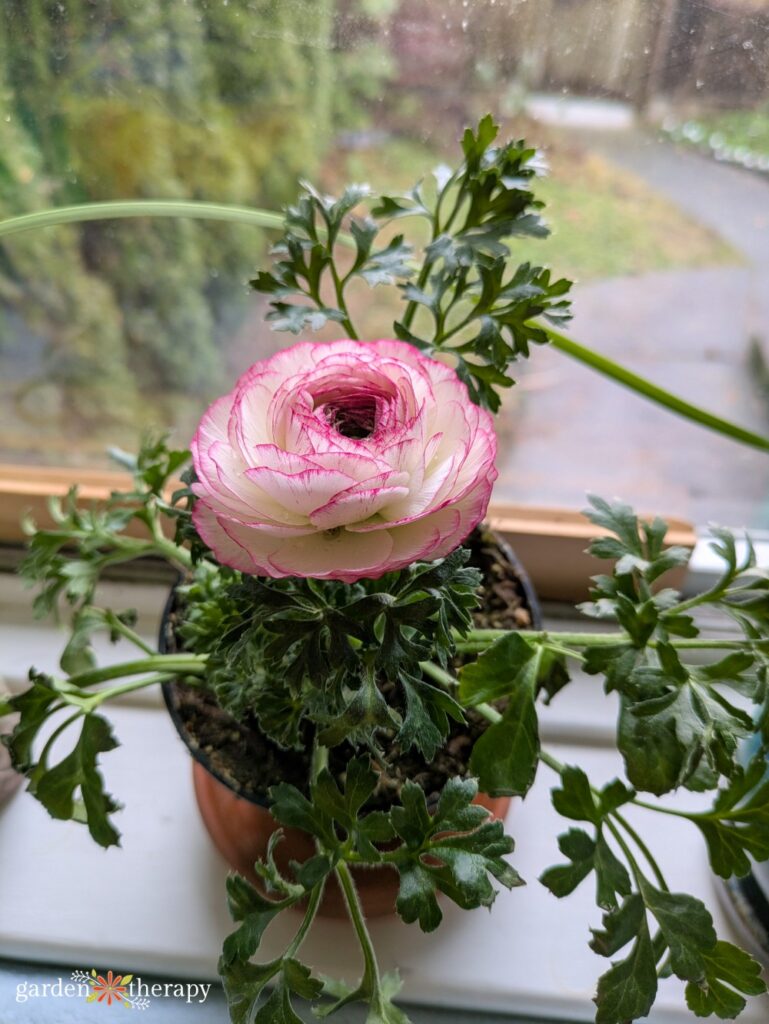
If you’re making a bouquet to sell, give away, or use yourself in the immediate future, you’ll want to harvest the ranunculus when they’re nearly fully open. All but the center should be open. At this stage, they should last for about a week in the vase and will be slightly more fragile to transport.
If you want your ranunculus to last longer or will be storing them in a cooler, you want to cut them when the bud is coloured and just starting to open. This is known as the marshmallow stage, as the buds will feel squishy. At this stage, they will last anywhere from 10-14 days after harvest. Make sure the flower buds and heads are fully dry before storing them to prevent rot.
To cut the flowers, follow the stem down to the ground. They might still have buds attached, but this will give you the longest stem. I like to leave the buds on for added visual interest. You can choose to only cut as far down as the next bud if you want more blooms and are okay with shorter stems.
Fall planted ranunculus corms will bloom in early spring while late winter and early spring planted corms will flower by mid-spring.
Saving and Storing Ranunculus Corms
Ranunculus corms can successfully be stored, but you may not want or be able to. Many corms are patented, so you’re not allowed to save and store them. Search for your variety to ensure whether or not you’re allowed to save them.
If you can save them, know that they may not perform as well in subsequent years. Many cut flower gardeners choose to purchase new corms each year for consistency.
In zones 7 or higher, you can try to leave them in the ground. Depending on the temperature, soil drainage, and other environmental conditions, they may return. Think of it as a bonus, not a guarantee.
You can also dig up the corms. Let them die back naturally. Once all the foliage has turned yellow, you can cut it back and dig up the corm. Rinse it clean of dirt and let it dry out completely out of the sun.
Store them in a growing medium such as coconut coir or sawdust until they’re ready to be planted. Read more on saving bulbs in this post.
FAQ About Growing Ranunculus as Cut Flowers
If you’re just learning to grow rancunculus as cut flowers, I would start with purchasing a few corms from a trusted retailer so you can learn.
When buying bulk from wholesalers, you typically order your corms in the spring for the following fall. You can also purchase them in the fall and spring from local and online retailers, such as Breck’s Bulbs or West Coast Seeds.
Look for specialized retailers like other flower farms for the best quality blooms. It’s important to know that corms come in different sizes. The larger the corm, the stronger the plant and the better the blooms will be. Those with harsher weather conditions should only choose large corms to increase their chances of success.
Store the corms in the bags they came in, somewhere dark and not too warm or cold, until you’re ready to plant them.
Aphids and thrips are the biggest concerns for ranunculus. For organic methods, consider doing some companion planting to help keep the pests away from your ranunculus. Also attract or even purchase lady bugs, inviting these good bugs in to feast on the aphids. Another great method is to purposely plant trap plants to attract the aphids to another part of your garden, such as nasturtiums or calendula.
More Tips for Growing Bulbs
From Vancouver, BC, Holly is Garden Therapy’s Content Manager. She has a BFA in Writing from the University of Victoria as well as a diploma in Floristry Design from Burnaby CCE. At home, she loves to grow cut flowers and dried flowers for her business, Dirty Daisy Florals, and is an avid houseplant collector and lover of bees. You can find her at @dirtydaisyflorals and @hollyheuversocial.